There are some foods that I often tell myself "this cannot be good for us".
One of those is flavoured crackers.
Our ethos around food quality is around shelf life and flavourings. You see, outside of single ingredient dried foods (rice/dried legumes/flour etc) and canned foods, if something can sit on a shelf for years, in a packet - there is not much that is organic about it. It is questionably meeting the definition of a food as food by definition is to nourish.
The synthetic preservatives must be at an all-time high and any nutrition would also be synthetic or so highly processed, it would be marginal.
Along with flavour enhancers, rice crackers have been on my mind a lot as something we need to "bump". But what to replace it with?
Well, after years of saying "how cool would it be to make my own crackers" I gave it a go. This was a surprising experiment on two levels:
- It was really easy and cheap
- PLUS the kids loved them.
Recipe Disclaimer
Now, one disclaimer on this recipe. You can use whatever rice you want to use, even left over rice or quinoa but you will need to use your own judgement on adding water or oil to get the consistency right.
You are aiming for a sticky paste that can roll into a small ball with wet hands. If your mix is too sticky - you can let it sit and dry out for 30minutes before trying to roll it again. It will work, trust us!
Many recipes suggest cooking on baking paper. I found this too wasteful, so this is a baking paper free version.
Tools
- Blender/food processor
- Spoon
- 1-3 Baking trays pending how many you want to make, we used 3 in this volume. Oil trays with olive oil.
- Oven - preheated to 180 degrees Celsius
Ingredients
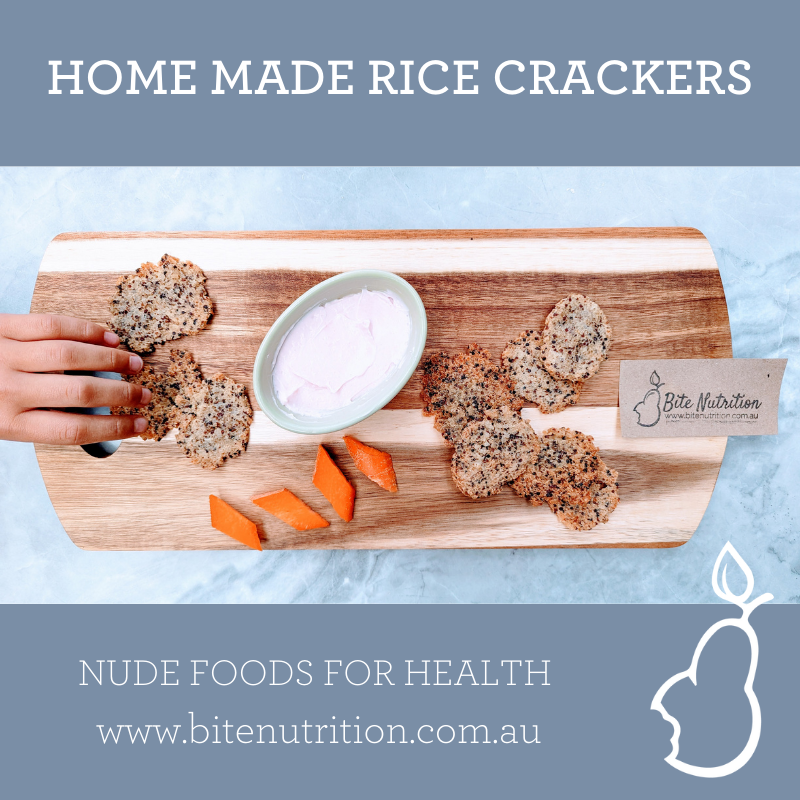
Rice combinations we used:
- 2 cups cooked cooled quinoa + 1 cup cooked cooled basmati rice (this is the one in our image)
- 2 cups cooked cooled brown rice + 1 cup cooked cooled basmati rice.
Plus
- 2-3 tablespoons olive oil
- Pinch salt
- Water for your hands
You can add toppings, such as sweet paprika, parmesan cheese, garlic powder as you please.
Method
- Place all ingredients into a blender.
- Roll into small balls, 2x2cm or the size of a walnut.
- Place evenly across your baking trays, with room for you to roll them flat.
- Get a small piece of greaseproof paper and flatten each one until its a few mm in height and a circle.
- Add any flavour's you wish as suggested above.
- Place in oven for 20minutes or until slightly brown and crispy.
These will last in an airtight container for a week or two.